How to Sharpen Your Lawnmower Blades
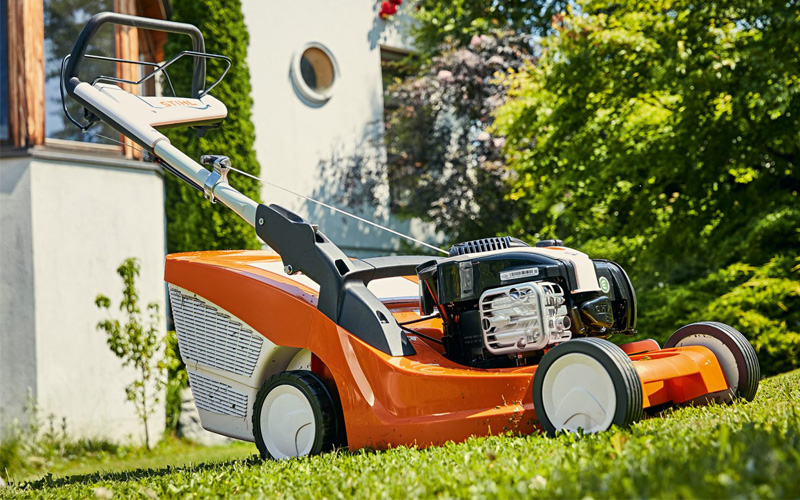
To achieve a perfect lawn you need a sharp blade - follow our step by step instructions below.
When to sharpen your mower blade
If you have a garden you are proud of, it’s disappointing when you notice that your mower is leaving behind uneven and ragged grass. This is easily avoided though, if you regularly sharpen the lawn mower blade.
Inspect the blade regularly
Don’t wait until mowing results deteriorate: check regularly to see if you need to sharpen or replace the blade.
Replace a damaged blade
If you find a crack in your lawn mower blade, don’t try to sharpen it. You need to replace the blade.
How often to sharpen the blade
Even if your regular inspections don’t find any problem, you should sharpen your mower blade or take it to a STIHL SHOP for sharpening after 20-25 hours of use.
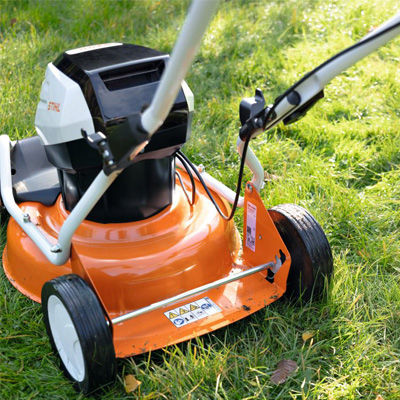
Should I sharpen my own blade or take it to a professional?
Your Local STIHL SHOP has the right tools and expertise to sharpen your mower blade to a high standard. However if you have the right tools to hand, you can sharpen your own mower blade by following our instructions below:
How to sharpen a lawn mower blade: step-by-step instructions
What you will need:
- Vice
- Work gloves
- Spanner
- Monkey wrench/pipe wrench
- File
- Grinding stone or whetstone
- Balancer
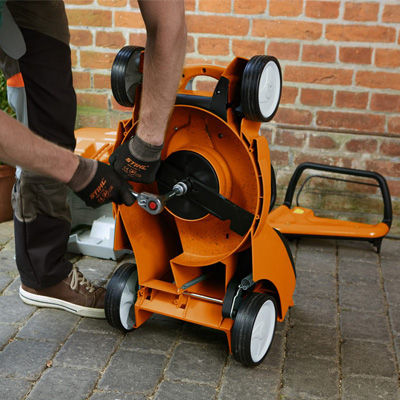

Step 1: Turn your mower off
Before you start to sharpen your mower blade, you must always ensure that the mower is off and protected against unintentional activation. If your mower is electric, disconnect the cable from the socket and wind it around the power tool so you can see no one has reconnected it while you work. For a cordless lawn mower, remove the battery, and for a petrol-driven machine, disconnect the spark plug.
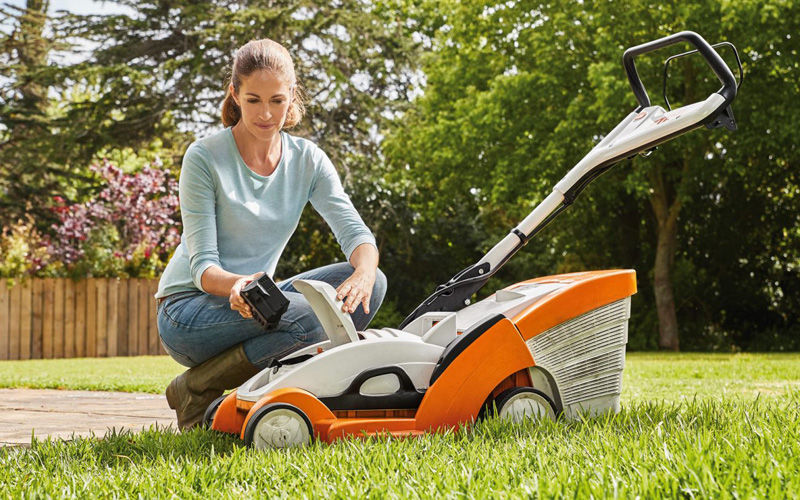

Step 2: Get the Mower into Position
You need to access the blade on the underside of the mower to sharpen it, but take care as you do so: although electric mowers can simply be turned upside down, petrol mowers cannot. On a petrol mower the air filter must always be at the top, otherwise there is a risk of engine oil running into the filter and damaging the tool. To access the blade you can tilt a petrol mower to a maximum angle of 45, tipping it on the side with the carburetor to the sky is the easist method to get it right.
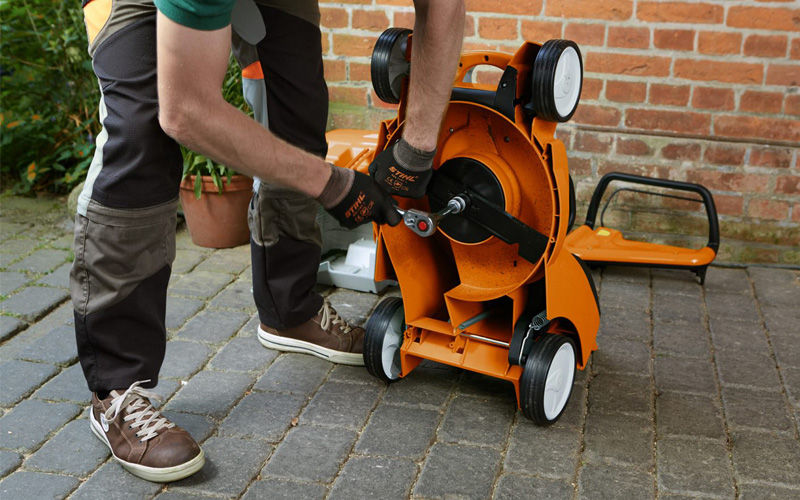

Step 3: Remove the Blade
The bolts that hold the blade onto your mower are always right-hand threaded and must be turned anti-clockwise for removal. Important: wear gloves when loosening or removing bolts. With one hand, hold the blade in place, and use the other to remove the bolt. If it’s too hard to remove the bolt single-handedly, ask someone else to hold the blade or use a wooden block to wedge it in place.
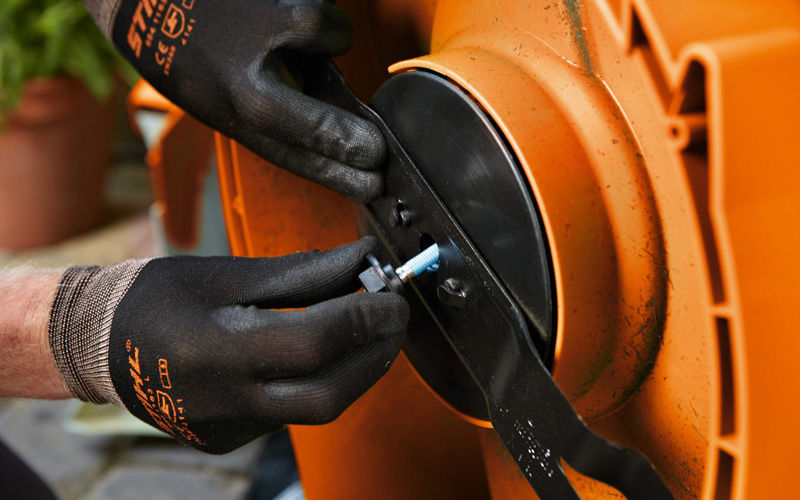

Step 4: Clean the Blade
Before you start to sharpen the mower blade you should clean any grass cuttings off. Check the blade over at this point: if you see any cracks or notches, the blade must be replaced.
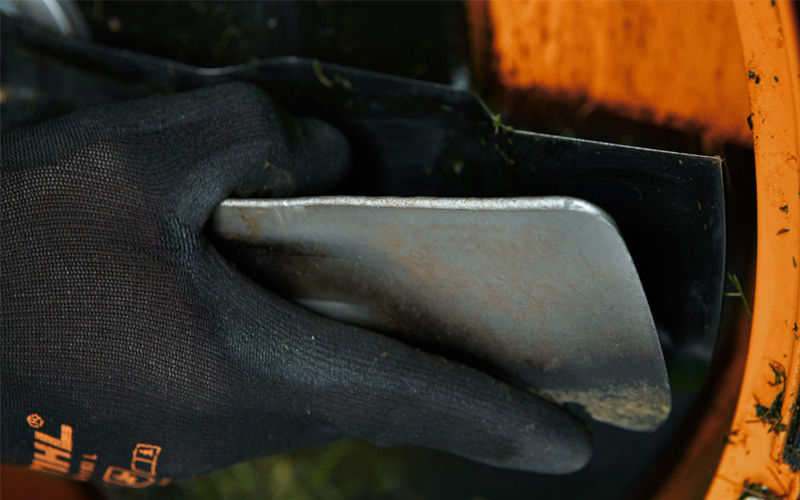

Step 5: Clamp The Blade
Once you have removed and cleaned the blade, clamp it in a vice in such a way that that the cutting edges can be easily filed with an upward motion to sharpen them. It’s a good idea to put some sort of cushioning between the vice jaws and the blade, such as scraps of old leather.
Step 6: File the blade
Take a file and use it on the blade, working in one direction and following the curve of the edge. Keep doing this until the blade edge looks completely smooth, and be sure to maintain a sharpening angle of 30° as you file.
STIHL professional tip: A little chalk on your file produces even smoother filing results.
Step 7: Balance the Blade
After filing, unclamp the blade and place it on your balancer. If the lawn mower blade stays level, it’s in balance and can be refitted; if the blade leans to one side, you should remove weight from the heavier side, repeating steps 6 and 7 until it is perfectly balanced.


