How To Trim Your Hedge
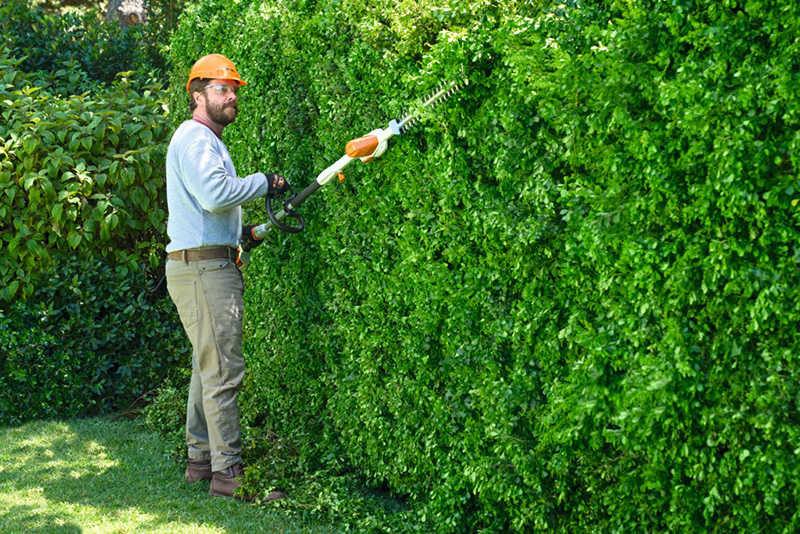
A hedge is not just a decorative element, it serves as a natural barrier, offers a haven for various wildlife species, and functions as a dynamic living wall in your garden. By trimming it you can promote healthier, denser, and more uniform growth. This practice also enables the hedge to receive adequate sunlight, proper airflow, and a greater amount of water that can reach the roots. Furthermore, frequent trimming aids in preventing the spread of bacterial, viral, and fungal infections.
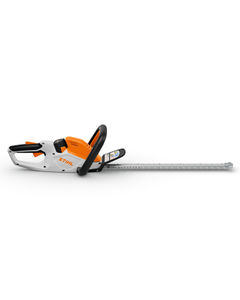
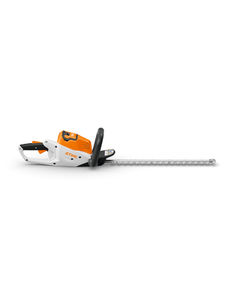
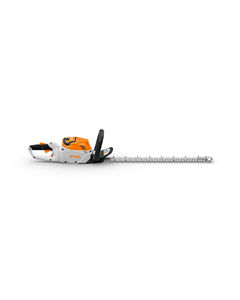
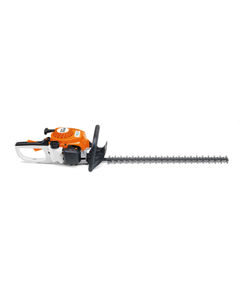
Although you can prune your hedge manually, using a Hedge Trimmer can make the job easier. To find the ideal model for your needs, consult our guide on selecting the right Hedge Trimmer.
As a rule of thumb, you should trim your hedge about twice a year (a very formal box hedges, might need trimming three times to keep it looking it’s best). Start with a big chop at the end of winter, this is the best time to cut back an overgrown hedge, due to the reduced humidity and fewer leaves but also because the hedge will not be in bud yet. In summer, if you start to notice some untidy leaf growth, you can get the trimmer out to keep the hedge in shape. New growth can be cut back by a good one third. Make sure that there are no birds’ nests or other breeding creatures in the hedge and for flowering hedges, trimming should only take place after they have finished blooming.
It is not advisable to trim hedges in autumn if you live in a temperate area. This is due to an abundant presence of fungi spores that can infect your hedges and kill them off.
You should not trim your hedge when it is too hot or sunny, as there is a danger that the freshly cut surfaces will dry out and die. The same applies if it is too cold, the cuts will take a long time to heal and the cold will weaken thinner branches.
-
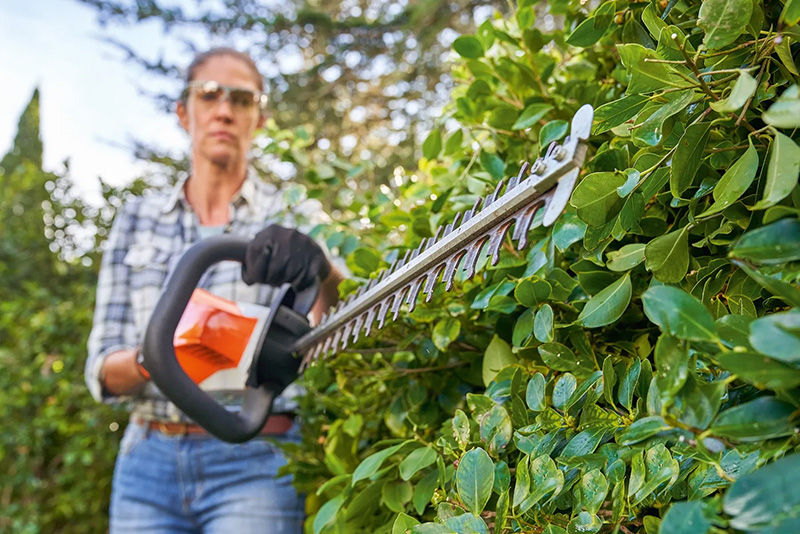
Always start trimming at the bottom of your hedge, and cut the top last. This is because if you cut the top too deeply, it will be more difficult to adjust your cutting depth at the bottom.
-
The base of the hedge should always be wider than the top, this lets maximum sunlight penetrate the hedge and allows for easier maintenance as the top grows out. If you cut the hedge straight, the plant will have more sunlight at the top, and will grow stronger, while the bottom will become weaker, and you could end up with bare stems at the base of the plant.
Check out our video and read the steps below for everything you need to know to get a perfectly trimmed hedge.
STEP 1: WATCH OUT FOR HAZARDS
Before starting, always check the area for trip hazards, especially wires and stones. It can be easy to trip when your attention is on the hedge.
STEP 2: DECIDE HOW LOW YOU WANT THE HEDGE TO BE
Too much trimming can potentially kill the hedge. Keep the growth buds in the direction you want the hedge to grow. Overgrown hedges can handle a heavy trim but take care not to cut into any of the main branches that feed the top. Limit your cut to one third of the total volume of the branches in one cut.
STEP 3: TRIM THE SIDES
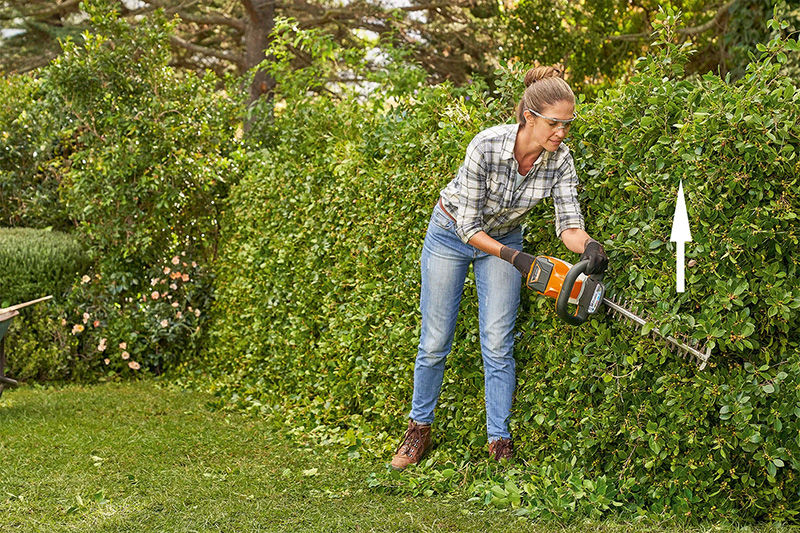
Start at the base of the hedge and make large and steady sweeping cuts in an upward direction. Walk forwards as you work, cutting along the length of the hedge. Cut out any dead wood and older growth from the point of origin.
When cutting inwards with limited sight of the main branches, use small, slightly angled sweeping cuts so that you can thin out the hedge without severing one of the main trunks.
STEP 4: TRIM THE TOP
Once the sides have been trimmed, it is easy to level the top. While trimming the top of a hedge, angle the blades at around 10° to the horizontal and cut using a crescent motion this will help the cuttings to fall away from the hedge. Big sweeping motions will do away with any lumps and bumps. Keep pushing through with pressure along the hedge.
A Long-Reach or Pole Hedge Trimmer is perfect for trimming tall, overhead hedges. They are easily adjustable and can cut with different angles in tight spaces.
STEP 5: STEP BACK
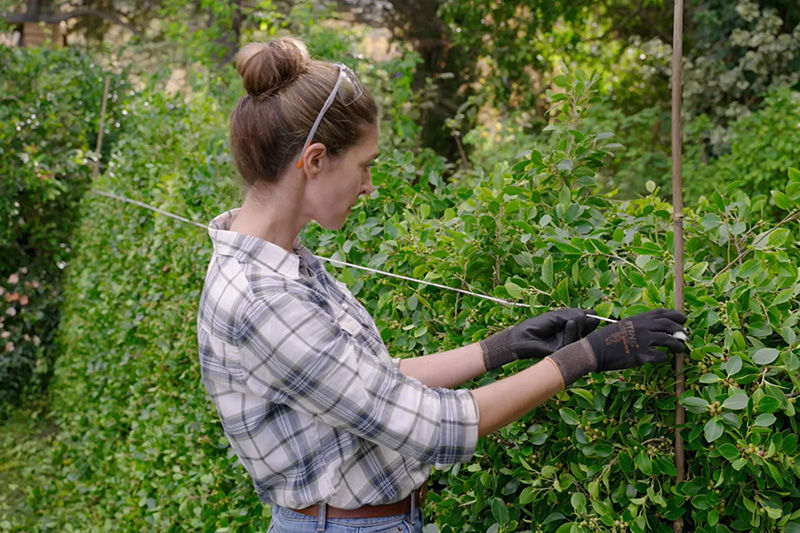
To ensure you cut the hedge straight, a good practice is to keep stepping back periodically to look at the hedge from a distance. You can also use a trimming guide, a piece of string stretched between two poles is the easiest way to create a straight / level line to cut against.
Once you have finished with the top, step back one last time to check if any further trimming is needed.

TIPS AND TECHNIQUES FOR HEDGE MAINTENANCE
Keeping your hedge neatly trimmed encourages growth and keeps the hedge looking dense and healthy. These tips will help you to avoid bare areas and an irregular shape.
TIP 1: HOW MUCH SHOULD BE TRIMMED?
Cut no more than one third of the branch lenght for your established plants. This is to encourage the growth in the top of your plant without seriously damaging its overall well-being.
TIP 2: HOW TO TRIM YOUR HEDGE STRAIGHT?
For a good straight cut, it’s helpful to have a guide edge to follow that runs parallel to the hedge. This could be the edge of the lawn or a fence – or alternatively, you could put up a taut string between two stakes to keep you in line. Hold the Hedge Trimmer level as you work. You should step back every so often to check from a distance how the hedge is shaping up.
TIP 3: WEDGE FOR YOUR HEDGE
For a lush look from top to bottom, go for a slightly wedged shape when trimming your hedge: wide at the bottom and narrow at the top. This is to ensure that light reaches the lower branches, otherwise they could lose their leaves for good. In any case, always ensure that the hedge is not wider at the top than the bottom, if the bottom is too narrow it will suffer from being constantly in the shade.
TIP 4: WHEN SHOULD I TRIM AND PRUNE YOUNG HEDGING PLANTS?
When you plant a new hedge, it won't need trimming in the first year. The second year after planting, you can trim it back to the shape you want. Leave the main stem alone until the hedge has reached its intended height, and cut all other stems back by up to a third.
TIP 5: FILLING GAPS IN YOUR HEDGE
The solution for improving fullness in the appearance of a hedge is generally simple: plenty of light. Small gaps will quickly close up if they get enough light – so remove some of the surrounding branches. For a larger space, fix a bamboo cane or other support across the gap and tie a nearby branch into it. The trained stem will follow the cane and grow into place filling the gap.

