Cart
You have no items in your shopping cart.

Autumn is in the air and Easter is here, it's the perfect time to get creative and crafty with your family. If you're looking for a fun DIY project to keep the kids entertained over the weekend, look no further! A wooden bunny is a perfect way to get everyone involved in a little outdoor DIY fun. Not only is this a great way to spend some quality time together but its also the perfect excuse to dust off your Chainsaw.
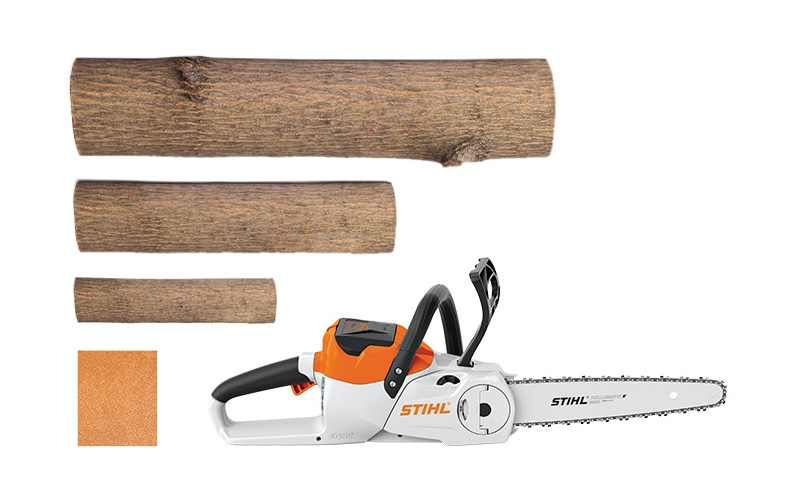
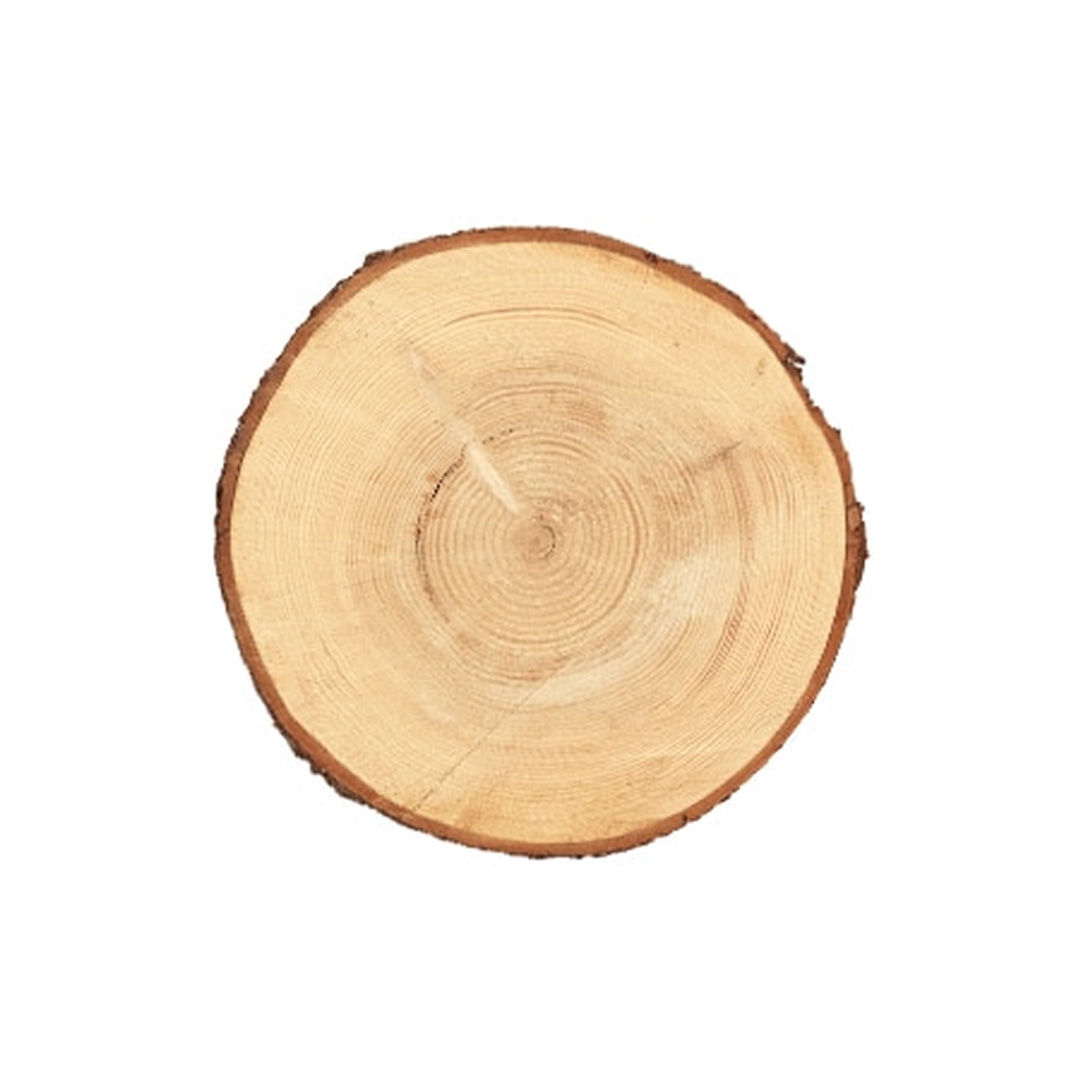
Secure your largest piece of wood on the sawhorse. Cut a single disc to create the bunny's body. Ensure that the disc is at least 2cm thick to provide a sturdy base for the bunny. If making more than one disc, repeat the process. Sand the edges of the disc(s) for neatness.
Secure your largest piece of wood on the sawhorse. Cut a single disc to create the bunny's body. Ensure that the disc is at least 2cm thick to provide a sturdy base for the bunny. If making more than one disc, repeat the process. Sand the edges of the disc(s) for neatness.

The next step is to create the head using your second largest log. Cut a disc that is either the same, or slightly thinner than the width of the body. Once you’re happy with the cut, sand the edges down.
The next step is to create the head using your second largest log. Cut a disc that is either the same, or slightly thinner than the width of the body. Once you are happy with the cut, sand the edges down.
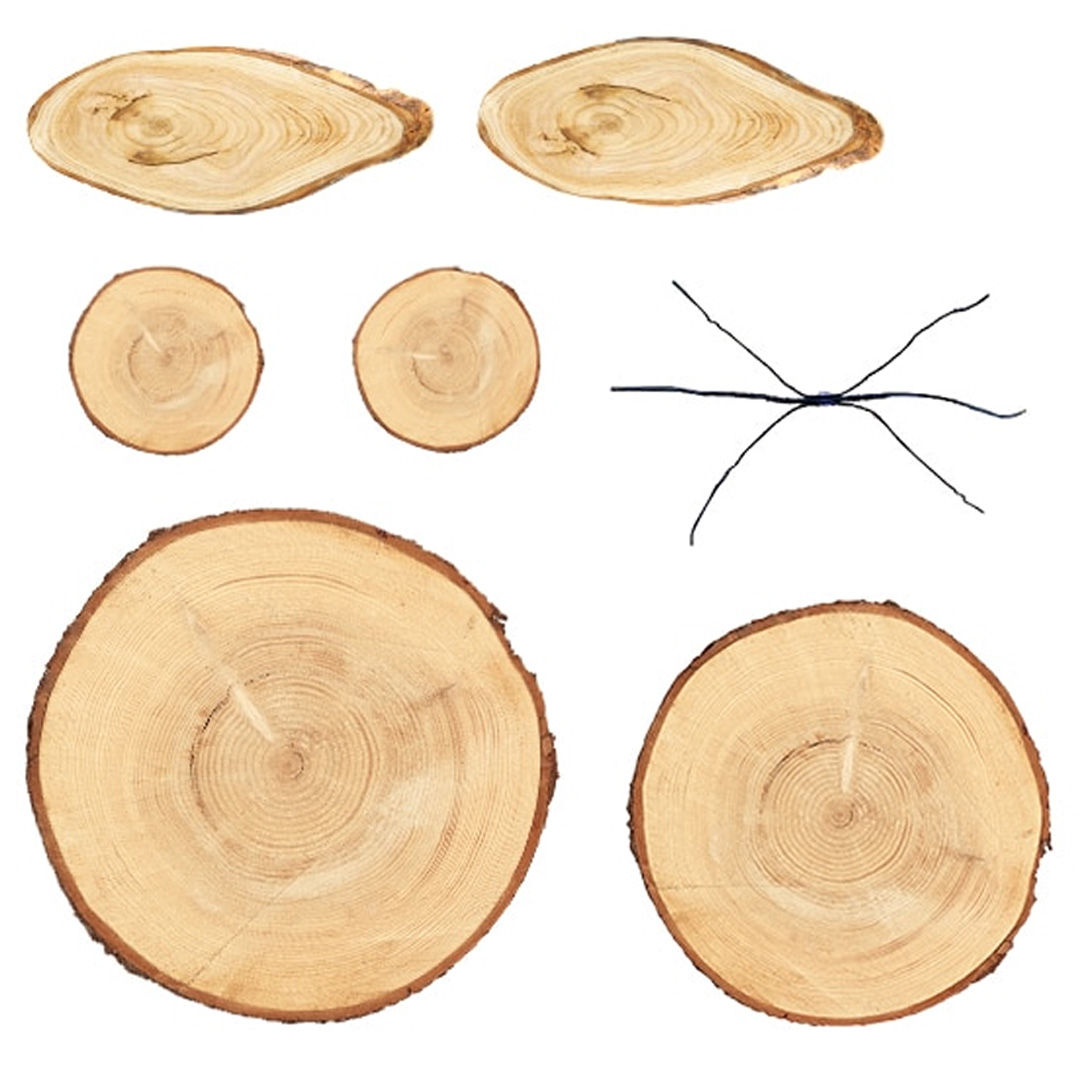
To create the bunny's feet and ears, use the smallest log. Cut two small discs for the feet that match the width of the body and head. Smooth them with sandpaper. For the ears, cut two thin discs on an angle from the same log, and sand the edges.
To create the bunny's feet and ears, use the smallest log. Cut two small discs for the feet that match the width of the body and head. Smooth them with sandpaper. For the ears, cut two thin discs on an angle from the same log, and sand the edges.
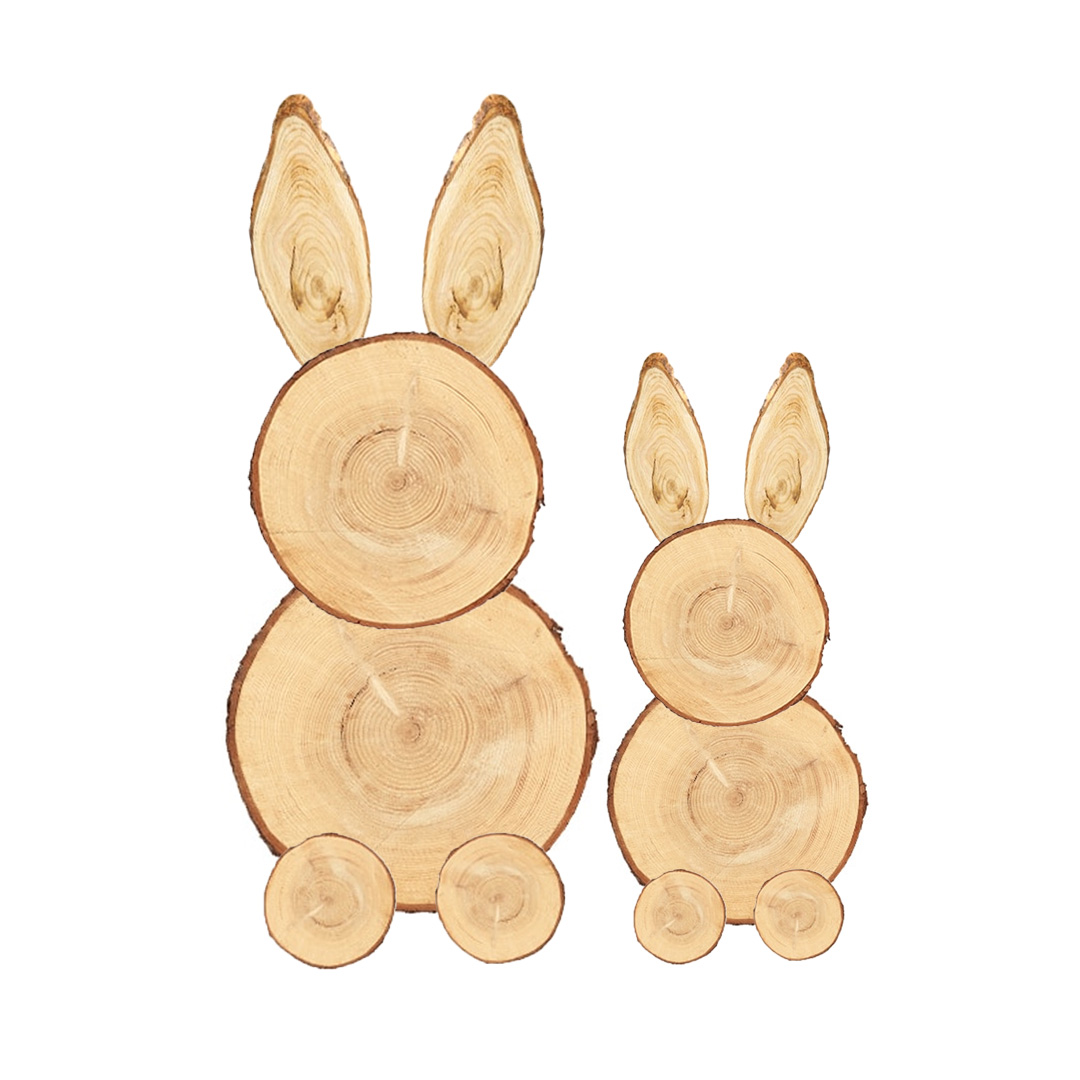
Once your pieces of wood are ready, it’s time to start putting your bunny together! Choose a flat surface for fixing and allow sufficient time for the glue to set. If your logs are fresh and moist inside, let them dry for a day or two before attaching the pieces. Begin by fixing the feet, then attach the head and slide the ears underneath.
Once your pieces of wood are ready, it’s time to start putting your bunny together! Choose a flat surface for fixing and allow sufficient time for the glue to set. If your logs are fresh and moist inside, let them dry for a day or two before attaching the pieces. Begin by fixing the feet, then attach the head and slide the ears underneath.
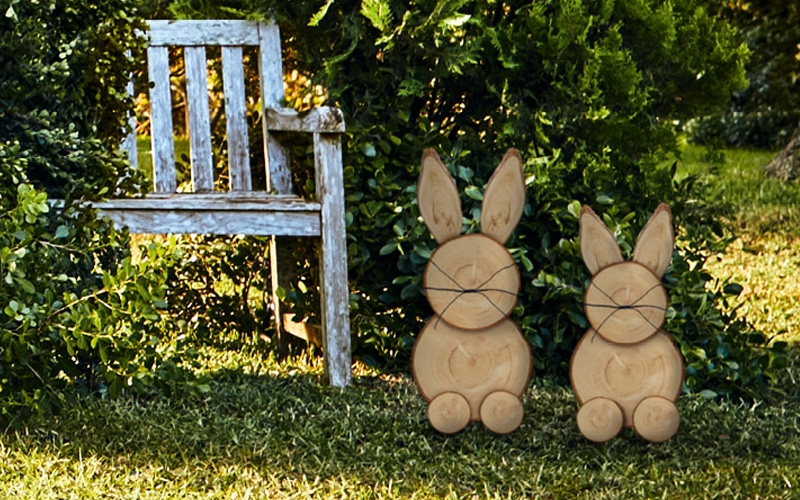
Once your creation is looking like a real bunny, get creative and add some personal touches. Use things like buttons for eyes, ribbons, paint, or anything else you can find around the house to give your bunny it’s personality!
Once your bunny is looking like a real bunny, get creative and add some personal touches. Use things like buttons for eyes, ribbons, paint, or anything else you can find around the house to make your bunny it’s own personality!