Felling a Tree with a Chainsaw

If you need to drop your tree before cutting it into firewood, World Champion Tree Climber Mark Chisholm is here to take you through the process of felling a tree with a STIHL Chainsaw.
SAFETY FIRST
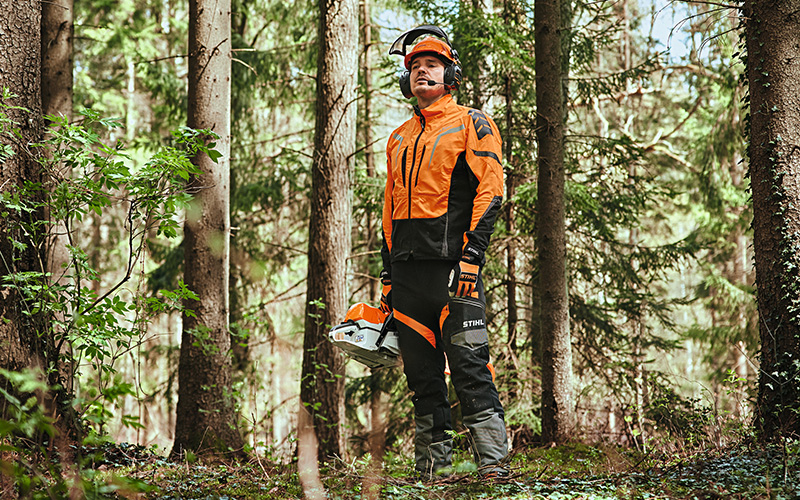
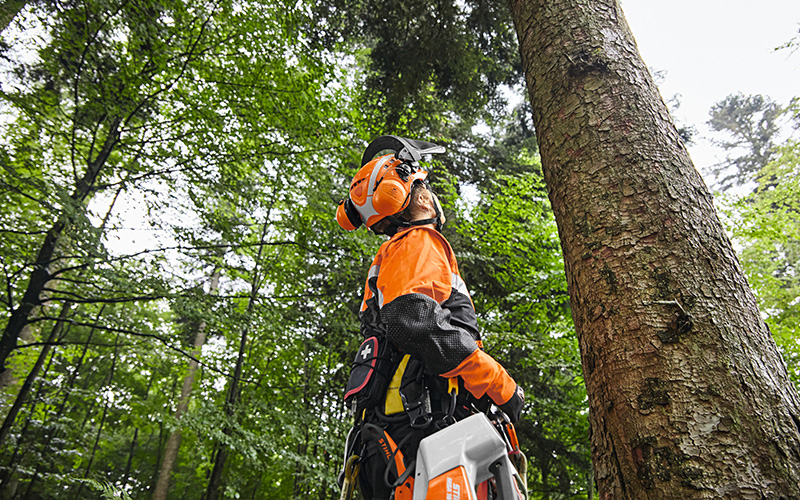
When it comes to tree felling, safety should always be your first and top priority. It's important to wear all of the necessary safety gear to minimize the risks associated with tree felling. The following safety gear is essential to protect yourself from potential hazards:
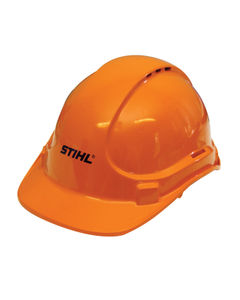
- Protective headgear and earmuffs: Protects your head from falling branches or debris and ears from loud and potentially damaging noise levels.
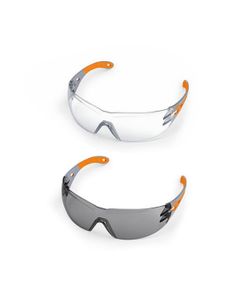
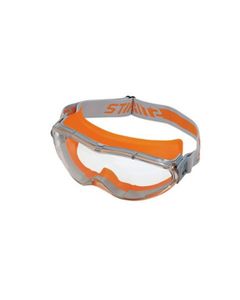
- Protective eyewear: A pair of safety glasses to prevent any wood chips and sawdust from getting into your eyes and causing severe damage.
- Gloves and arm protection: Wear gloves that are specifically designed for chainsaws to provide a better grip and to protect your arms and hands.
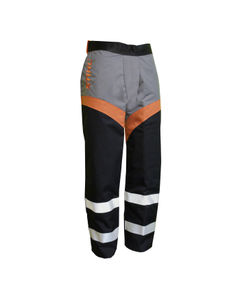
- Chainsaw chaps or protective pants: These specialized pants have fibers that can stop a chainsaw before an injury occurs.
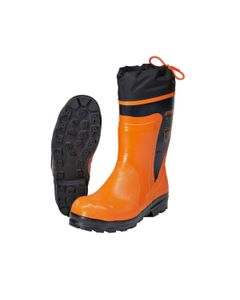
- Steel-toed boots: A sturdy pair of boots with steel toes and a good grip on the sole can prevent foot injuries from falling branches or the chainsaw itself.


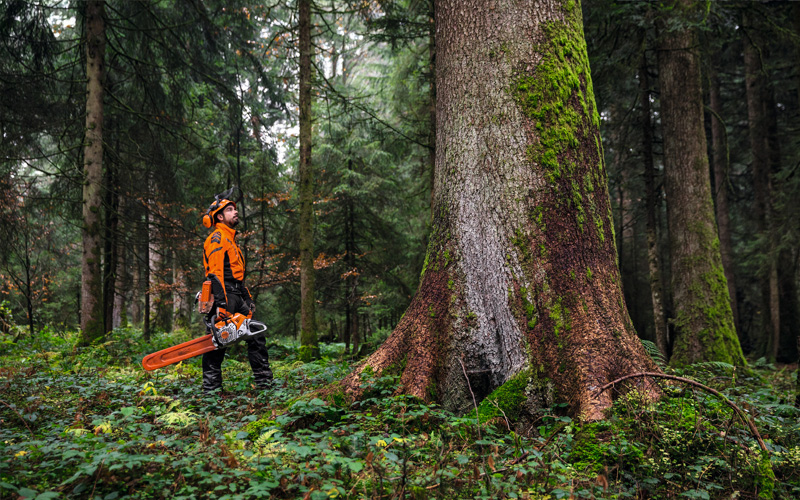
ASSESS YOUR SURROUNDINGS
POTENTIAL HAZARDS
To safely and effectively cut down a tree, it is essential to conduct a thorough assessment of your surroundings before beginning the task. This evaluation will provide you with necessary information to ensure a safe and successful job. By identifying potential hazards and taking necessary precautions, you can prevent unforeseen accidents and ensure your safety throughout the felling process.
LARGE DEAD SECTIONS
Watch out for large dead sections on the tree. These sections can easily come loose during the felling operation, and when they fall, they tend to land right where the person is making the cut. This poses a significant danger to the person operating the chainsaw, as well as anyone else nearby.
VINES
Vines can be a significant hazard when cutting down a tree, as they are often hard to spot and can cause several problems if not removed. Firstly, vines can prevent the tree from falling in the intended direction, holding it suspended in mid-air and creating an additional hazard. Secondly, if the tree breaks free from the hinge, the vines could swing it off course. Finally, as the cutter makes the cut, the vines may cause something to break loose behind them, leading to a dangerous scenario.
ASSESS THE TREE
When assessing a tree for cutting, several factors need to be considered, one important aspect is identifying any lean in the tree. By examining whether the tree is leaning forward, back, or to the side, you can determine how to compensate for the lean and fell the tree in the intended direction. Wind is another important aspect to look out for when assessing the tree. However, assessing a tree for cutting goes beyond just looking at the trunk. It is also crucial to evaluate the branch structure, as it can significantly influence the tree's movement when released. If many branches are leaning out in one direction or the other, this can indicate the direction the tree wants to go and help plan the cutting process accordingly.
WORK ZONE
After assessing the tree, the next step is to prepare the work zone. The first priority is to remove any debris and clear the area of tripping hazards, this includes cutting down underbrush and moving it out of the way to create a clear workspace. Once the work zone is prepared, the last task is to address any obstacles identified during the assessment. Similarly, any other debris or hazards must be cleared from the area to ensure a safe and effective operation.
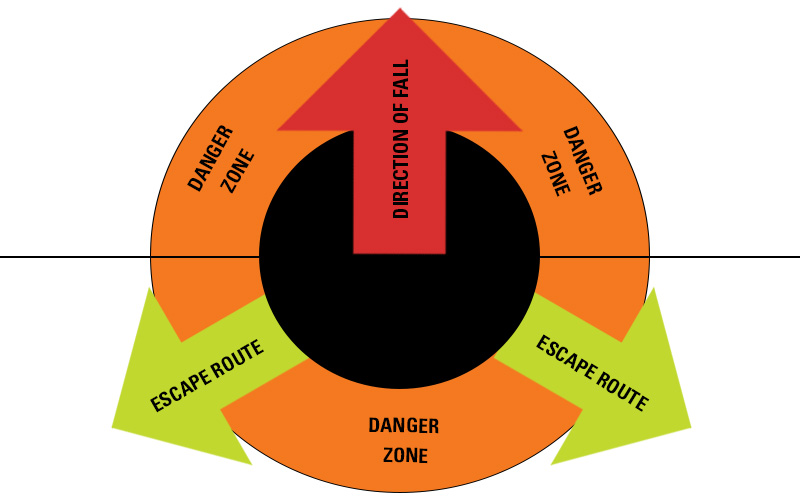
PLAN AN ESCAPE ROUTE
It is essential to have an escape route when tree felling for safety reasons. An escape route should be pre-planned and clear of any obstacles to allow a quick exit from the work area. It is critical to identify the direction in which the tree is expected to fall and to position the escape route in the opposite direction. This positioning ensures that everyone moves away from the tree's fall path and reduces the risk of being struck by falling debris and any potential hazards. The diagram below illustrates the safest escape route, which is located at the back of the tree on both sides. This is particularly important in case the tree falls unexpectedly in the opposite direction or uproots from the back. Always make sure you can safely move away from any potential danger.
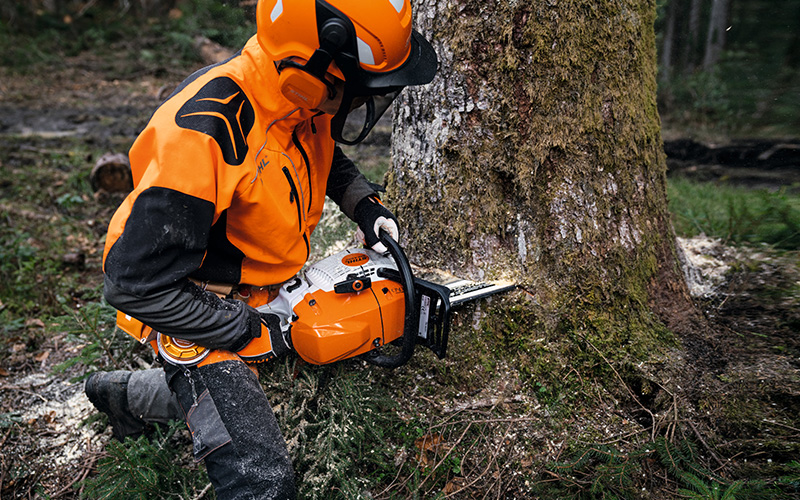
MAKING THE CUTS
Planning the cut is a critical step in the process of felling a tree. This step involves deciding on the best felling method to use and planning the specific cuts that will guide the tree's fall. This depends on various factors, such as the tree's size, shape, lean, and location.
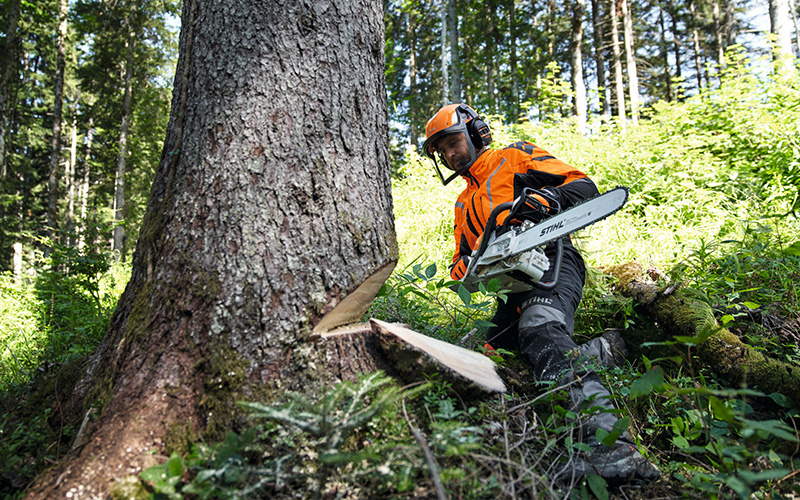
SCARF CUT
The initial step in felling a tree is the directional cut, also known as a scarf cut - this cut is made on the side of the tree where it is intended to fall. The scarf cut is made up of two cuts, a 45-degree angle cut and a straight bottom cut. Once completed, the scarf cut should resemble a V shape, with the open end pointing towards the intended direction of fall.
BACK CUT
After making the scarf cut, the next step is to create a hinge that will guide the tree's fall. To achieve this, a back cut is made on the opposite side of the tree, slightly above the level of the scarf. The hinge helps control the direction and speed of the tree's fall. Once the back cut has been made, the tree will begin to fall.
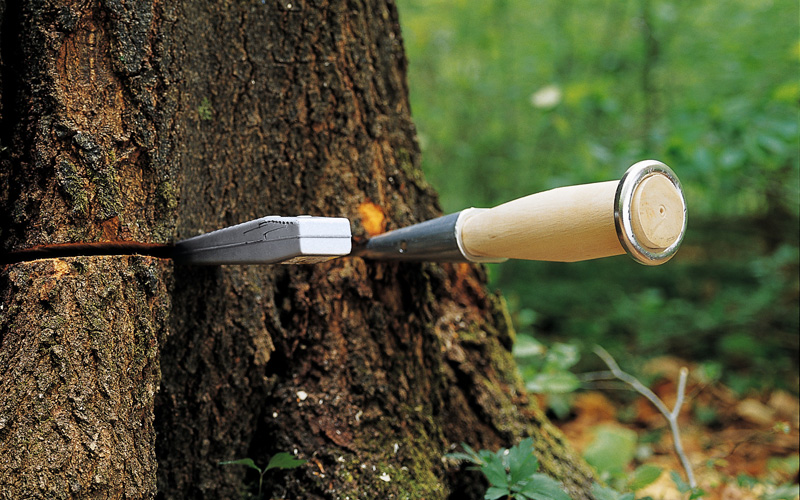
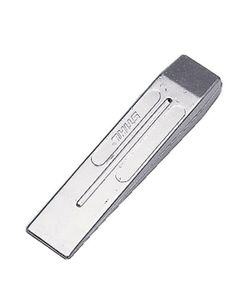
WEDGES
If the tree does not seem to be leaning into the intended fall direction, it may be because the tree is upright or leaning backward. In this case, wedges can be inserted into the back cut to help guide the tree in the desired direction. Once the wedges are in place, the tree should start to fall.


DISCLAIMER: Felling trees should not be undertaken if you do not have felling experience. Please contact a professional Arborist.

