Cart
You have no items in your shopping cart.
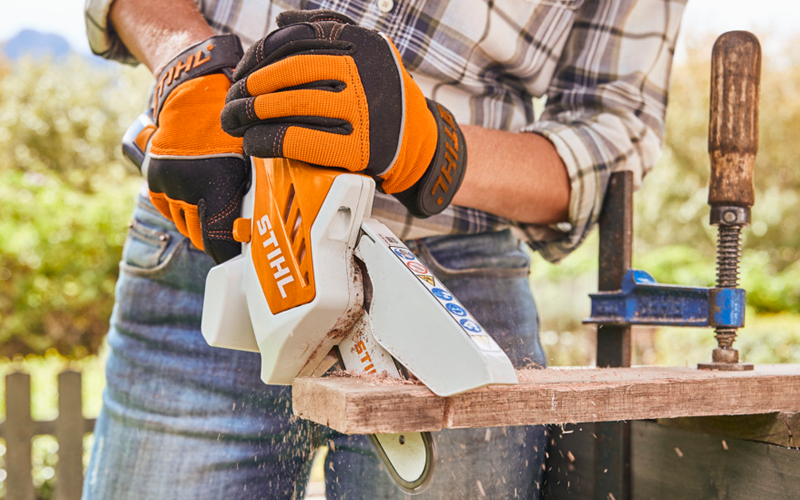
The STIHL GTA 26 Battery Tree Pruner is useful for precise cutting tasks in your garden, pruning branches from smaller tress and shrubs. But did you know that this Hand-held Pruner can also assist in DIY projects? Here is an example of a fun & easy gardening project made with the STIHL GTA 26.
Adding a birdhouse to your garden is beneficial to both your garden and your local birds. Not only is it a great way to support your local wildlife, you're also getting yourself a cute slug and bug buster.
Wood: 2.5 cm x 14 cm x 145 cm. Untreated timber and wood with non-toxic finishes are the best.
Screws: Approximately 3.8 cm
Tape measure
Pencil
Power hand drill
Screwdriver 3.8 cm drill bit
And of course your GTA 26 Battery Hand-held Pruner
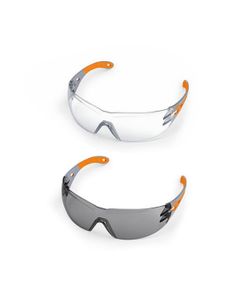
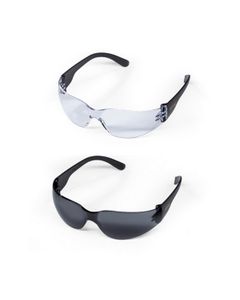
To ensure your safety, you should also wear your Safety Gloves and Safety Glasses.

Now that you've got everything ready, let's get started! Measure and mark the board from the top down:
2 side pieces (S): 27 cm long on one side; 24 cm other side
1 top piece (T): 20 cm
1 front piece (F): 25 cm
1 rear piece (R): 32 cm
1 bottom piece (B): 16 cm
Now that you've got everything ready, let's get started! Measure and mark the board from the top down:
2 side pieces (S): 27 cm long on one side; 24 cm other side
1 top piece (T): 20 cm
1 front piece (F): 25 cm
1 rear piece (R): 32 cm
1 bottom piece (B): 16 cm
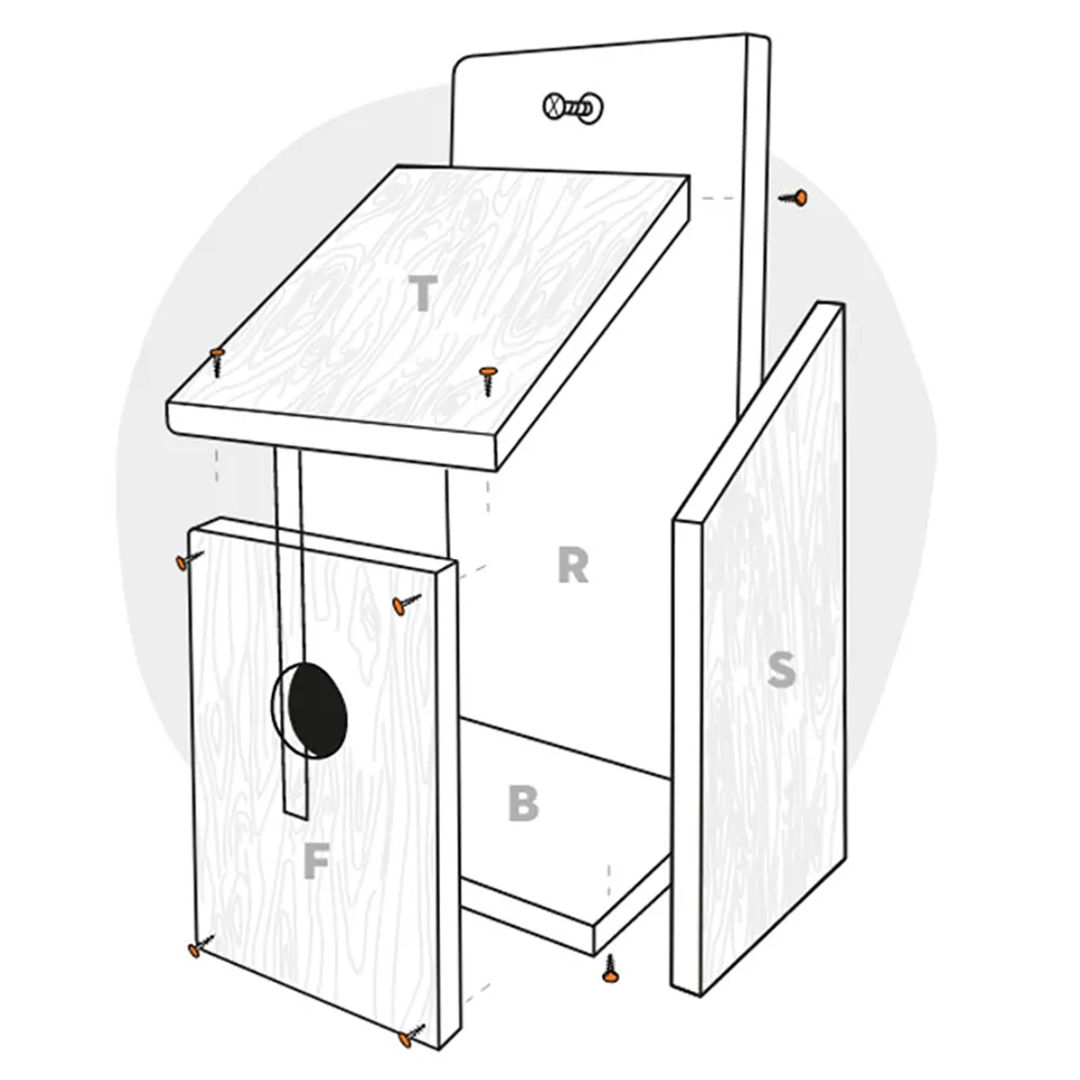
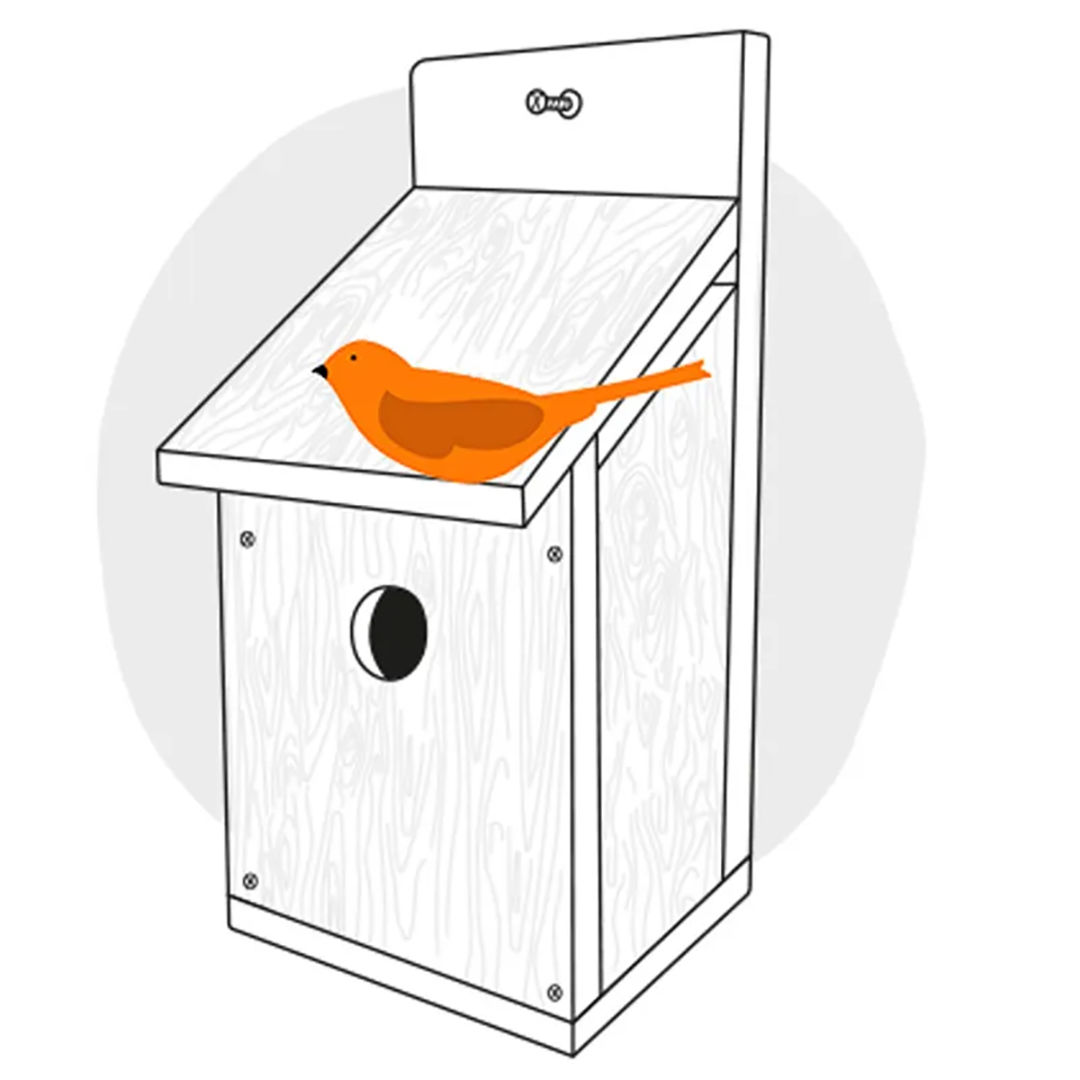
Almost there! Follow the steps below to assemble your birdhouse:
Drill a hole in the centre of the front piece (F) so that a bird can enter.
Add a small hole for hanging in the centre top of the rear piece (R).
Place the sections together following the diagram and attach with screws.
You may decorate your birdhouse with paint or stain.
The only thing left is to find the perfect place to hang your birdhouse. Here's a few tips on choosing the right place to make it more inviting:
Hang it in your garden facing east to avoid strong sunlight and prevailing winds.
Place the birdhouse high enough off the ground and away from trees and fences so that predators cannot reach the birds.
If you have a vege garden, place it close to your garden so that your crops will stay slugs and snails free.
The only thing left is to find the perfect place to hang your birdhouse. Here's a few tips on choosing the right place to make it more inviting:
Hang it in your garden facing east to avoid strong sunlight and prevailing winds.
Place the birdhouse high enough off the ground and away from trees and fences so that predators cannot reach the birds.
If you have a vege garden, place it close to your garden so that your crops will stay slug and snails free.