How To Sharpen Your Hedge Trimmer Blade

Resin and thick branches blunt Hedge Trimmer blades over time. Using a Hedge Trimmer with blunt blades will damage your plants and make work unnecessarily difficult. The machine will also be forced to work harder, which may impact its performance and reduce its operating life. We explain how sharpening your blades can be done quickly and easily at home ↓ .
HOW CAN YOU TELL IF YOUR HEDGE TRIMMER NEEDS SHARPENING?
The easiest way to identify that your Hedge Trimmer needs a sharpen is if the branches are not being cut cleanly. If your Hedge Trimmer leaves behind an uneven or frayed edge as it cuts, this indicates that you need to sharpen the blades. You can go to one of our stores and they will do the sharpening for you, but it is also possible to do it at home without too much bother.
Ideally, sharpening should be done before the blades show too many visible signs of wear, we recommend sharpening every 50 hours of use or so, this is to ensure consistent cutting performance and to enable you to enjoy your Hedge Trimmer for as long as possible.
WHAT WILL YOU NEED TO SHARPEN YOUR HEDGE TRIMMER BLADE?
You will need the following tools and materials to correctly sharpen your Hedge Trimmer Blade:
- Flat file
- Whetstone
- Soft cloth
- Water
- STIHL resin solvent
- Work gloves
- Safety glasses or face protection


STEPS TO SHARPEN YOUR HEDGE TRIMMER
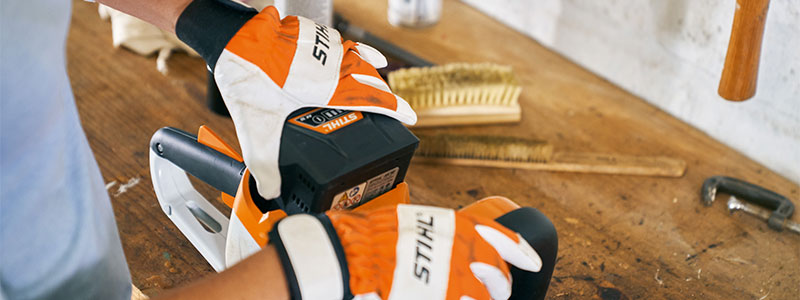
STEP 1: CLEAN THE TEETH

During use, plant sap and resin accumulate on the blade of your Hedge Trimmer, remove this with a soft cloth before you start sharpening the blades.
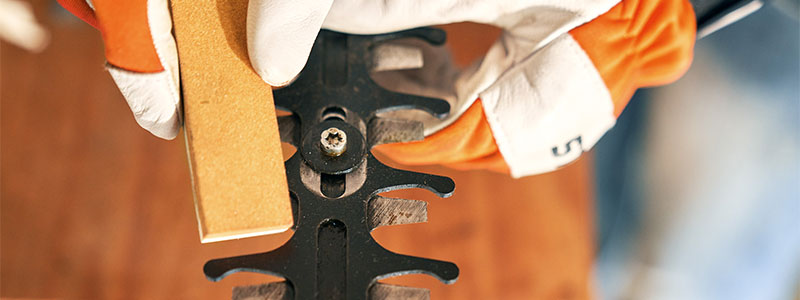
STEP 2: SHARPEN YOUR HEDGE TRIMMER BLADES WITH A FLAT FILE
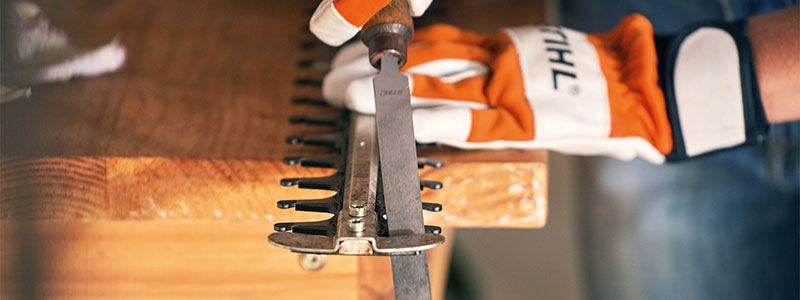

Tips for using a flat file:
- Always file towards the cutting edge.
- When sharpening your Hedge Trimmer, try to use the file at the recommended sharpening angle, which is detailed under Technical Data in the operating instructions for your tool.
- The file is only effective on the forward stroke, and should be lifted from the surface when you move it back: avoid “sawing” back and forth on the surface with the file, as this may blunt the cutting edge again.
- You should always be careful not to remove too much material during sharpening: the abrasion limit is 5 mm. If you file off more than this, the material strength may be compromised, rendering you're Hedge Trimmer unusable.
- Use the same number of file strokes for each cutting edge, so that all the blades will be the same length once your have finished.
- You should only sharpen the cutting edge of each tooth. Do not file the integrated cut protection or the orange plastic cut protection.
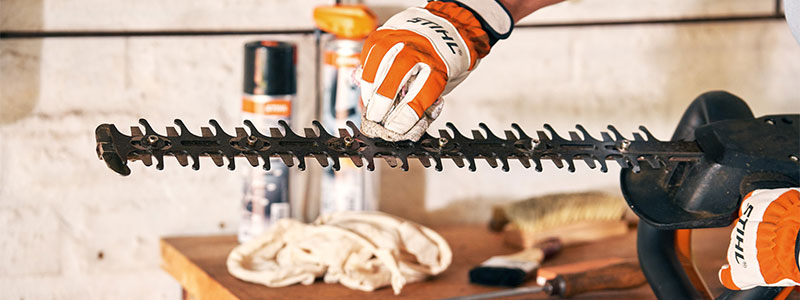
STEP 3: REMOVE BURRS USING A WHETSTONE

You will need a whetstone for this step, which is used to smooth any burrs that have developed on the underside of the blades during filing. Turn the Hedge Trimmer over so that you can work on the back of the blades, and lightly moisten them as you work. Draw the whetstone along each blade, using a careful swiping motion in the direction of the tip, smoothing the roughened surface as you go.
STEP 4: CARE AFTER SHARPENING

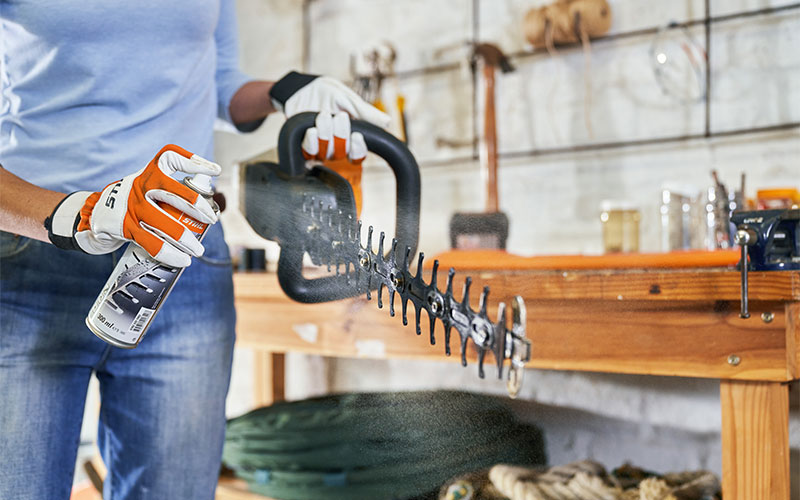
Almost done! Now you need to give your freshly sharpened blade a little extra TLC.
First remove any grinding dust generated in the previous steps. Second, the process of filing will have removed the corrosion protection on the blades, so you need to spray the blade with STIHL Super Clean or an alternative.
WHEN SHOULD I TAKE MY HEDGE TRIMMER TO A PROFESSIONAL?
If after reading this guide you feel unsure or uncomfortable it might be a better idea to take your Hedge Trimmer into a STIHL SHOP. Our stores will be pleased to help, and can professionally sharpen the blades to achieve an optimal result without removing too much material. Also, if you are uncertain that dull blades are causing the issues you are having, it might be better to have a professional make an assessment.
BRANCHES KEEP GETTING JAMMED IN THE TRIMMER
If you are noticing a tendency for branches to get stuck between the teeth during trimming, so they block the tool but are not being cut. This is an indication that the upper and lower blades of the Hedge Trimmer are no longer meeting. This happens because the spacers between the blades wear out over time, your STIHL SHOP can fix this by replacing the spacers for you.
SUMMARY
- Sharpening is part of the routine maintenance that is required for your Hedge Trimmer.
- You should clean the blades before sharpening and moisten them before using the whetstone.
- A flat file is a good tool for sharpening.
- Burrs should be removed using a whetstone.
- Apply resin solvent to restore the corrosion protection.
- If you are uncertain about sharpening or need assistance, go into one of our stores they will be happy to help.